Hey guys. In this photoshop tutorial I am going to show you how to draw Reese Witherspoon in a realistic way. I have chosen a B&W picture to make it easier for you.
This is what we are trying to achieve:
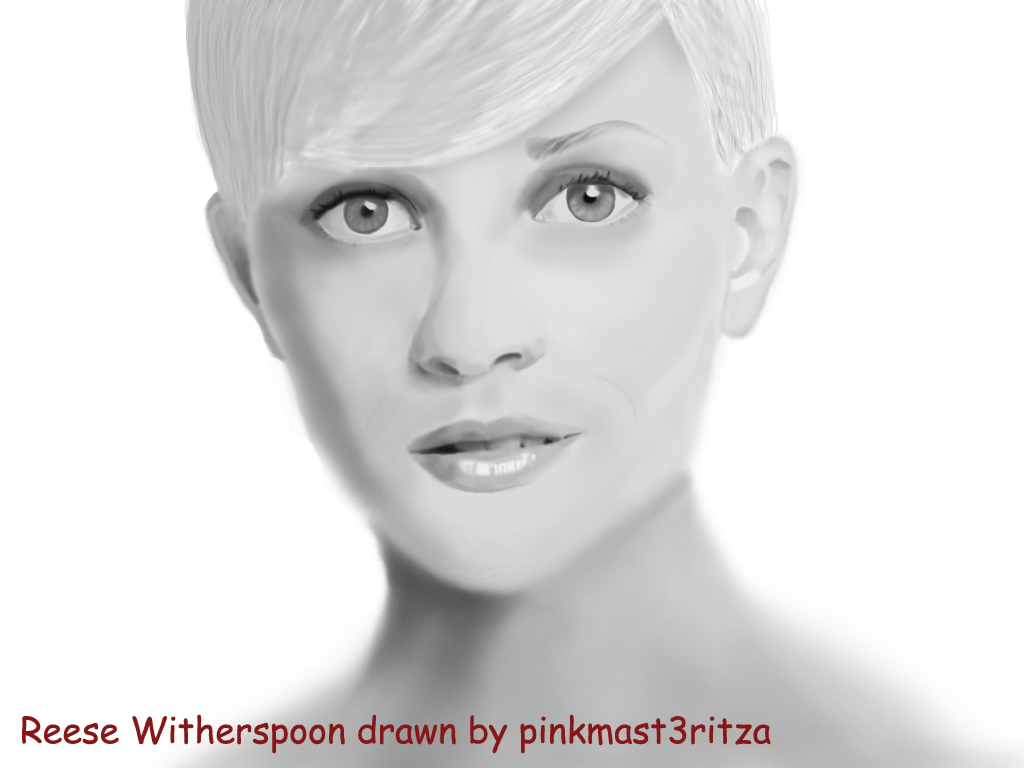
You know that saying: an image is worth thousand words, so I hope you will understand from the pictures, because i don’t think there is too much to be said.
Ok so launch Photoshop and create a new 1024px * 768px document.
Grab the Pen Tool, or if you own a tablet even better and draw something like this:
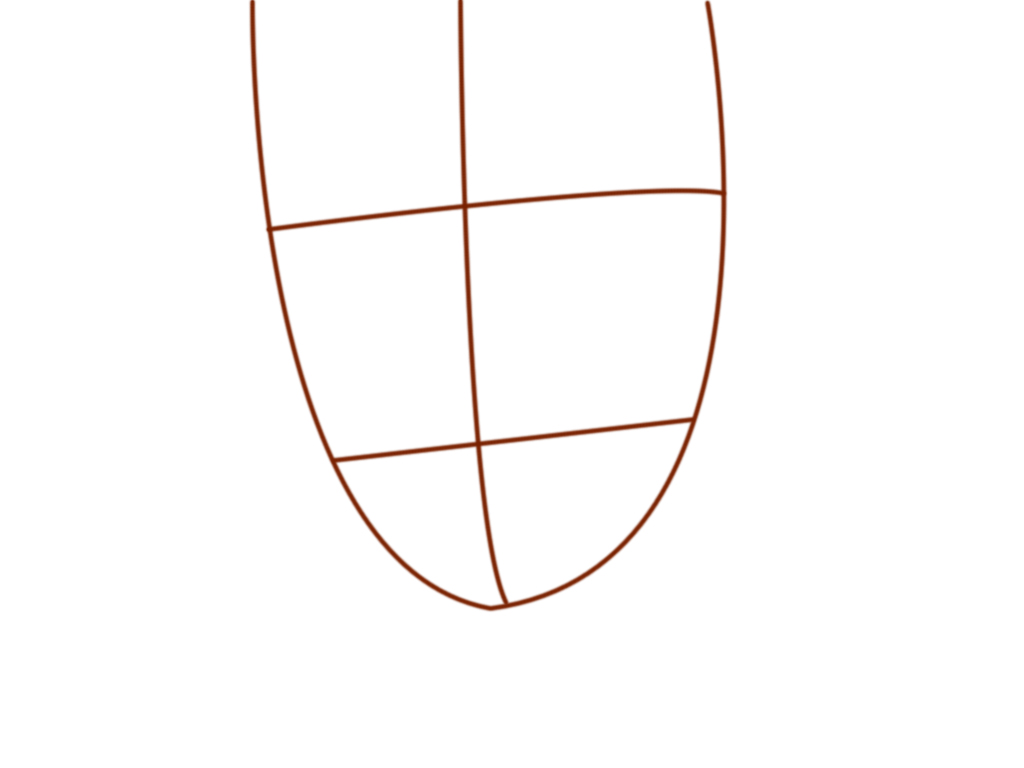
The lines mark the position of the eyes, nose, mouth. Let’s draw them now.
It is just a roughly sketch. We’ll add the detail as we go:

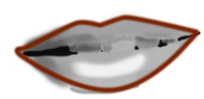
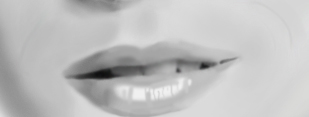
Let’s first focus on the mouth. Add a bit of a detail:

Fill in the mouth’s shape with #acacac .

Now let’s add some shades and highlights:
Open the picture in Photoshop, and select the colors using the Color Picker Tool.
Add more details :

Let’s not deal with the theeth right now..We shall add more details later on.
THE NOSE.
Grab a soft round brush and draw the area with the nose and a bit of the cheeks using #dddddd as foregound color.
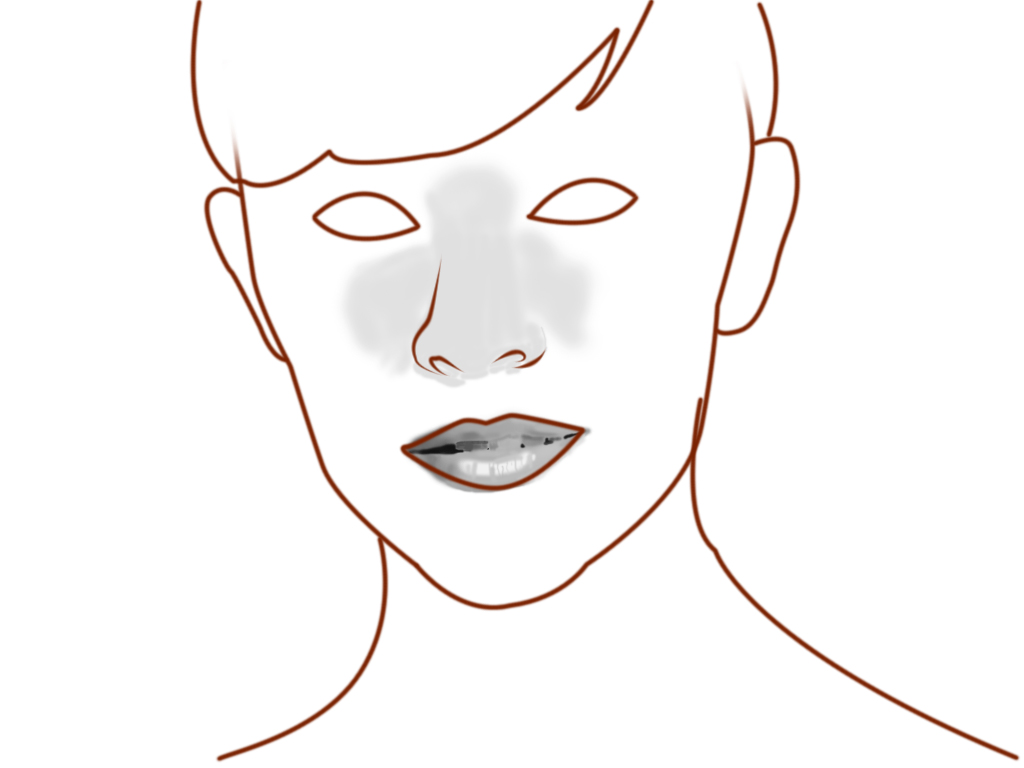
Add the highlights and shadows with multiple tones of grey:

TIP: Blend in the shades by using a low Flow percent of the brush.
This is the palette with the grey-ish tones used:

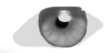
Let’s proceed with the eyes now, to get a real basic sketch of Reese. The details will be added later on.
Ok grab a brush, and with this color #dedede as foreground color, fill in the eyes’ white, which by the way, is not white at all. Now choose a darker grey as foreground color (#9f9f9f ) and shape the iris. Please note the shape in the picture below. THE IRIS IS NOT ROUND!

Now add detail:

You don’t have to be very accurate at this step. We’ll blend the colors at the next step.
After blending you should have something like this:
Now draw the crease and the contur of the eye and add shades and highlights:

The grey tones used:

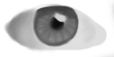
The left eye now in the same way:


TIP: Blend in the shades by using a low Flow percent of the brush.
This is how your canvas should look like right now:
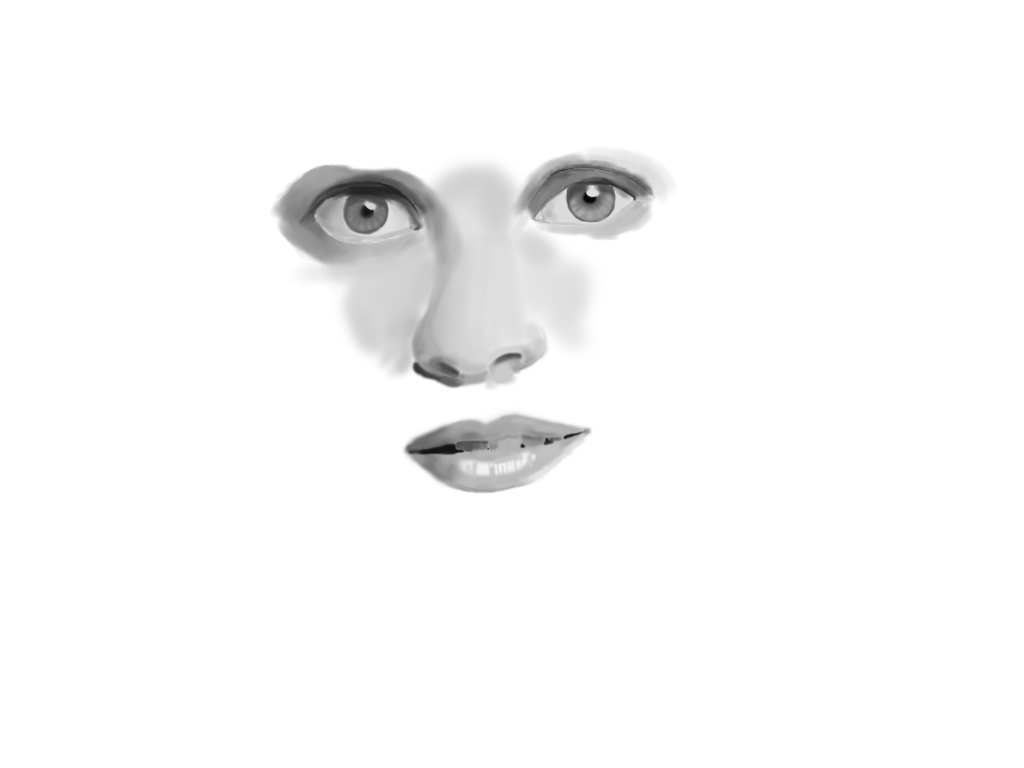
Let’s deal with the rest of the face:
Fill in the face with #dadada.
Is starting to ressemble with Reese right?:)
Let’s move on and add some shades and highlights on her face.

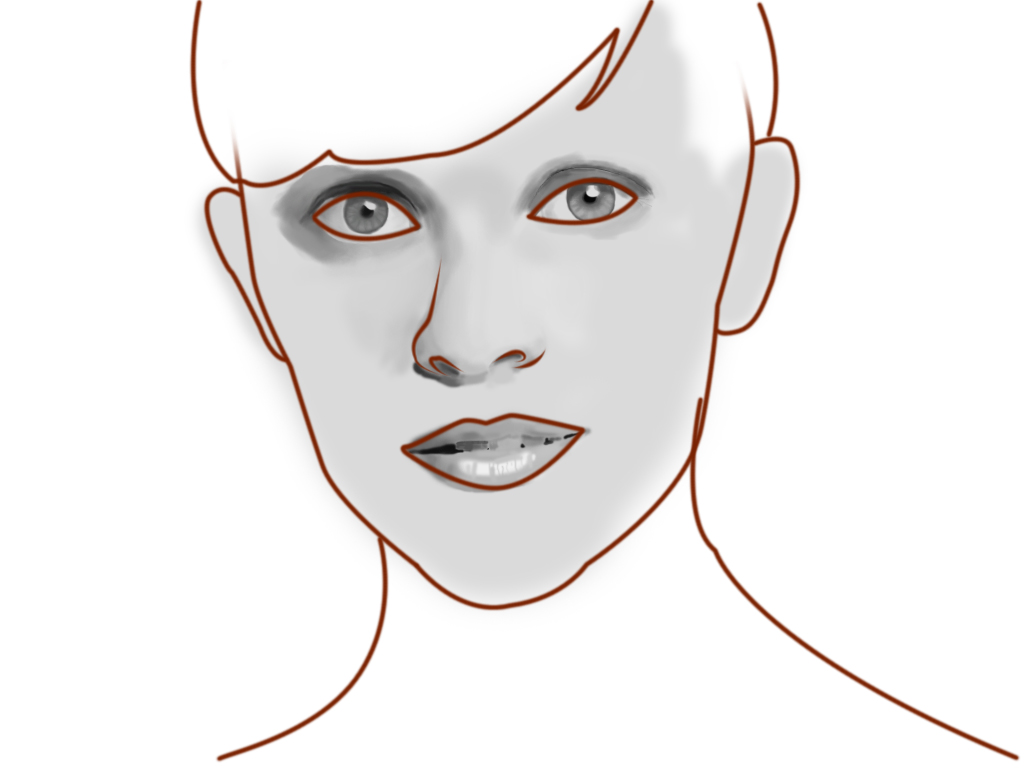
Eyebrows:
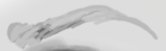
Now let’s add detail. You can use the Pen Tool, and after, the Smudge Tool to create the eyebrow’s details.
Add basic highlights and shades of the ear:

Add details:
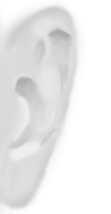
Same with the left ear but here you don’t have to be very accurate as the ear will be most likely covered with hair strands.

THE HAIR:
Fill in the hair with #f2f2f2.
Creating the hair is a very tricky thing. The only thing I can tell you about it is that the more colors and shades and grey will use, the better the hair will look.
I’m just getting tired of it though so I’ll leave at this level of detail:

Let’s draw the neck and a bit more shades to the face .

Now I will blend in the shades that we left unblended near the nose:

Add some expression details and smoothen the theeth:
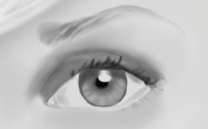
Add details and lashes to the right eye:
Do the same with the left eye:

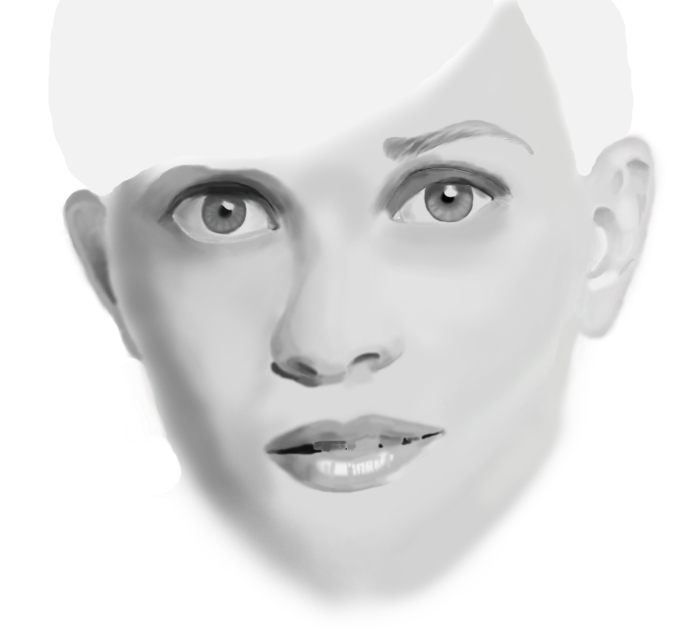
The final result:
Please use the social networking buttons below to share the tutorial if you have enjoy it!
You might also wanna check up on my latest drawing: Samantha Carter -SG1 HERE!
Thank you!
3 comments:
Nice.Congratulations!
I love her . Truly one of the greatest, and yet underrated, actresses ever.
Great work! Now try to draw her, without-her-spoon!
Post a Comment