Hello fellows. In today's tutorial I'm gonna show you how to draw a car using Photoshop.
If you'll pay attention, you will learn how to use the Pen Tool efficiently and how to draw curves using it. Good luck.

Create a new 1000px X 800px Photoshop document.


 If you’ve enjoyed this tutorial don’t forget to subscribe, like us on Facebook , follows us on Twitter or distribute it using the sided button. Tons of things to do ha? Easier to say you didn’t like it.
Kiddin..it’s just that this is a simple thing to do and it will keep this blog running.
Thanks for reading my blog.
Ela. xx
If you'll pay attention, you will learn how to use the Pen Tool efficiently and how to draw curves using it. Good luck.
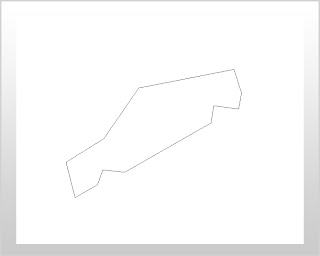
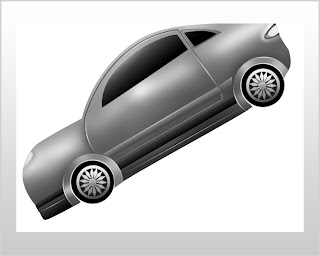
Preview of final result.

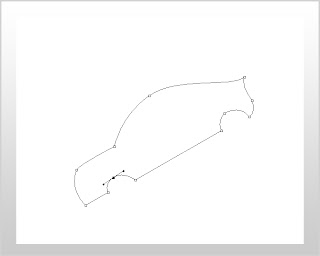
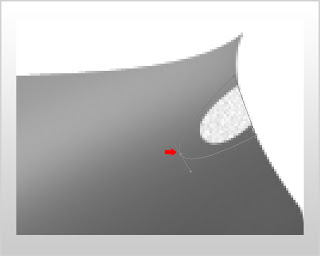
Using the Pen Tool (P), create a shape that looks like this:

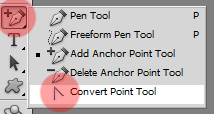
Pick the Convert Point Tool, by right-clicking on the Pen Tool.
Click once on your canvas and the anchor points will become visible.
Click on a anchor point, and both axes will be visible. Drag them until you get the curves.
If you want a modification on both axes, just hold down the Alt key.
If you want to move one of the anchor points, hold down Control key(CTRL) and drag them from a point to an other.

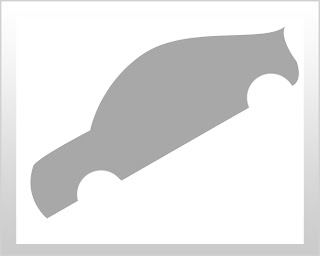
Create a new layer and name it "Base".
Right click somewhere into your path and choose "Fill Path".

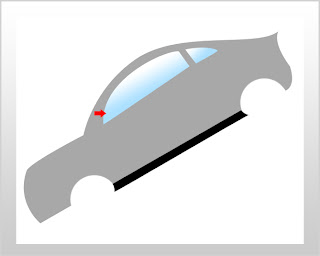
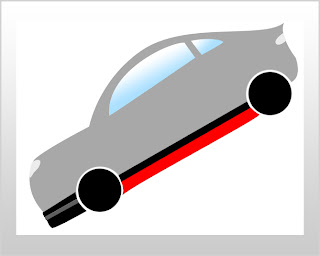
Using the same technique draw the lower bar pointed by the arrow.
Make sure you create a new layer before drawing it.Call that layer "Lower Bar".

From now on it's your turn to prove you've learned how to use the Pen Tool
But if you haven't understood yet, don't be afraid to ask me anything you need.
Let's draw the windows. Use the Pen Tool, but not before creating a new layer called "Windows".
Make sure you name all of your layers because later on we'll come back to them..

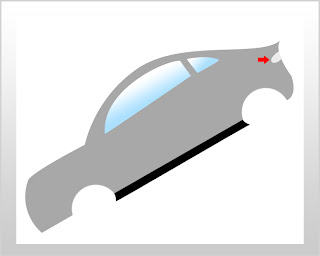
Now the back headlight..
Of course in a new layer called "Back headlight".

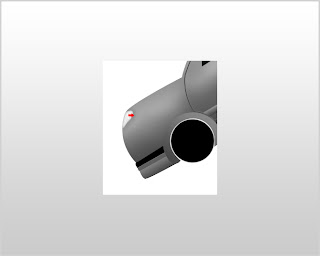
In a different layer called "Front headlight" draw the front headlight:

Now let's begin drawing the wheels, in a new layer called "Wheels".

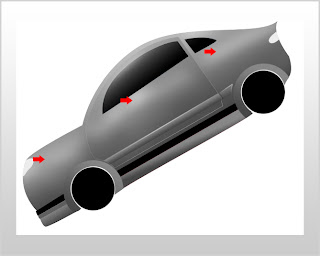
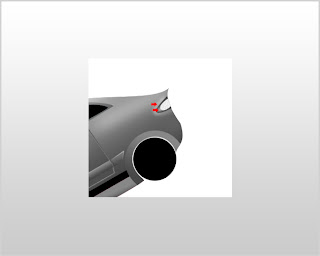
Let's add some more details. Draw these 3 bars in 3 different layers.
Call them Bar1, Bar2, Bar3(Left side:up mid & down), Bar4 (middle up), Bar5 (the red one).

At this step we'll draw the door of our car, using -of course- the mighty Pen Tool..
in a new layer called "Door".

Add detail:

Let's start colorizing now.
First, select the layer called "Windows".
Make it black, and use the "Dodge Tool" to create those spots of light:

We will colorize now the main part and the door.
Import both images in Photoshop, and using the Color Picker Tool(I), select the 2 colors that compose the gradient for both layers:

In case you didn't make it, these are the settings:
For the main part:

For the door:

Use this gradient by dragging the cursor from the right lower corner to the left upper one.
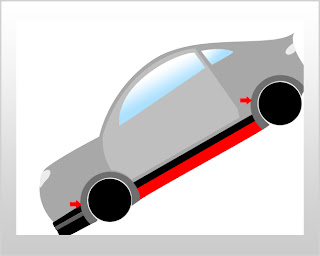
Add gradients to the lower parts of the car:

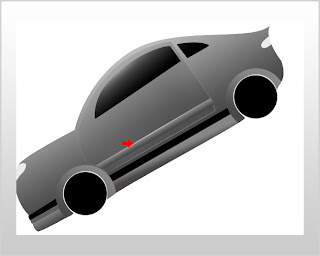
Using the Pen Tool add a detail (the bar that crosses the door)>>

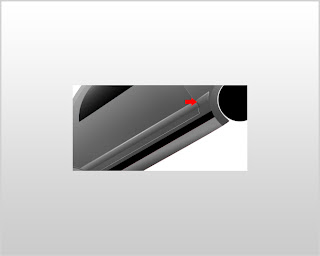
In the next screen shot, there is a line pointed by an arrow.
To create that line, you need to create a new layer called "Door Detail Light". Draw the line using the Pen Tool. Set your brush to Soft Hard Brush, 2 px size.
Now select again the Pen Tool, right click on your path, choose "Stroke Path". A window will pop-up. Choose Brush from the drop-down menu and check "Simulate Pressure".
Hit OK.

Create a new detail.

Using the "Dodge Tool", lighten up a bit a few areas:

Select the "Door" layer, bring back the Blending Options Panel, and choose Stroke.
Set the color mode to gradient and choose two tones of a darker grey.

Create the margins for the small window in the same way.

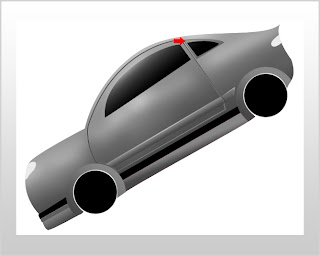
In a new layer draw a new path as shown below and make it black:

Use Dodge in the areas pointed by the lower arrow and Burn the area around this layer, after selecting the "Main" layer:

Burn the area around the front headlight too.
For both headlights, apply a 3% amount of monochromatic, gaussian "Noise" filter.

Use dodge to lighten up the areas shown by the semitransparent dots, in the screenshot below, and create "lines of light" as described in the previous step, where the aroows point out.

Merge the two lower left bars.
Change the gradient to the lower bars and add more lightning effects:

Let's move to the wheels now.
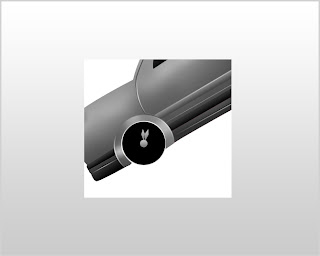
Adding the rims:
So start by drawing a round filled with lighter greyish gradient, and then a spoke.

Duplicate the spoke, rotate it and move it to make a set:

Duplicate these two spokes and place the duplicates like this:

Add a new detail:

Move all these layers to a new group called rim.
Duplicate it and place the duplicate over the other wheel:

Now using the techniques you've learned so far, delete the parts you are not happy with, to make it look better.
For example I've deleted some of the front part of the car and using the Bloat and Pucker Tools I've lowered the upper part.
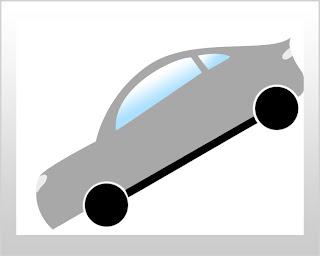
My result:

Kiddin..it’s just that this is a simple thing to do and it will keep this blog running.
Thanks for reading my blog.
Ela. xx
No comments:
Post a Comment